Project 3 - Shape
|
Actual instructional video coming soon.
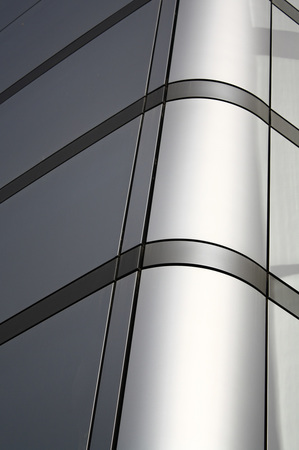
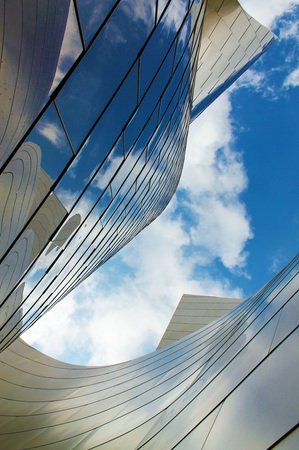
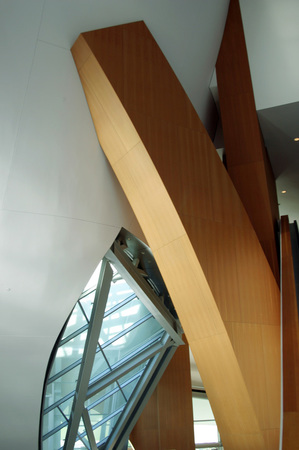
Focus on ShapeThis project will focus our attention on shapes. In our last lesson we saw how to utilize line as the primary design element to make a piece successful. We also looked at series of lines, which created patterns as well as direction and structure. When all of these things are put together they create shape. Shape doesn’t tell the viewer what the object is, but mainly what the object is like. Is it big, heavy, intricate, delicate, or plain? Shape also answers questions about the way an object interacts with its surroundings. Three things help identify shapes: mass, which has to do with the amount of space an object fills up, proportion, which has to do with how the mass of one object compares with another, and relation, which is primarily concerned with how objects interact (this can be somewhat interpretive i.e. which object is more attractive, dominant, important, focal point, and so on.)
You as the student will need to shoot 60 keeping the above in mind. You will need to submit your best eight images as well as four checkerboards from four of the images for critique for a total of 12 files. For all projects, subject may not be people or animals unless otherwise stated. |
What's Due?You will need to submit your best eight images as well as four checkerboards from four of the images for critique for a total of 12 files. Please post your final images into a Gallery on your Portfolio page on your Weebly website under a new page called Shape.
Camera SettingsLike the last project, we will be shooting on P. In this mode the camera sets both the shutter as well as the aperture for you. The only thing you need to do is set the sensitivity of the 'film.' This can be done by changing the iso. Think about it like this, iso 100 would be used for a nice sunny day, full of light, whereas, iso 800 would be used in darker situations. There is a down side to using higher iso settings in that your images will appear grainy so always try and move the value towards 100. For this class, iso 800 really should be your max value, although on rare occasion, 1600 may be necessary. Find the iso setting on your camera and set accordingly.
|
Shape as the Primary Design Element
Shape doesn’t tell the viewer what the object is, but mainly what the object is like. Shape also answers questions about the way an object interacts with its surroundings. Three things help identify shapes: mass, which has to do with the amount of space an object fills up, proportion, which has to do with how the mass of one object compares with another, and relation, which is primarily concerned with how objects interact. As you shoot these images please keep this in mind and don't forget about the rule of thirds.
Using your best eight digital images, open each file in Photoshop or Pixlr and perform the following:
1. Always optimize your imagery for every project. To Optimize an image you must, Crop, Adjust Levels, and Remove Spots use the healing and clone stamps. Please watch the video on how to Optimize an image in the previous project. From here on out I will assume that you will always be Optimizing your images and need little to no further explation on how to do this unless you ask for help.
2. Pick four of you best images and also create four kaleidoscope images from those eight.
|
Actual instructional video coming soon.
|
Create a Checkerboard ImageThe reason your making a checkerboard is to work with a bit more complex layer structure as well as understand some basic Selections.
Using four optimized images, open each file in Photoshop and perform the following: 1. Click on the Rectangular Marquee Tool, set the Style to Fixed Size, width and height for “1 inch” each, and select the area that you wish to use, edit/copy. 2. File/new, (Image width and height = 5 inches, OK, edit/paste. 3. Edit/paste 13 times, each time moving the piece into place (use the Move Tool) as you paste. 4. Go back to original optimized photo, and click on the Rectangular Marquee Tool, make sure the width and height are set for “1 inch” each, and select another area that you wish to use, edit/copy. 5. Go back to the new file, edit/paste 13 times, each time moving the piece into place (use the Move Tool) as you paste. 6. When done, please save a jpg. Note: If you save a psd file you will maintain editability, all your layers, and can come back to it another time. If you save it as a jpg, you will loose your layers, but that is the file type you need to post. Checkerbaord
|
Use the processes learned above with your best eight images. Don't forget to create your four checkerboard images. Again, the reason your making a checkerboard is to work with a bit more complex layer structure as well as understand some basic Selections. Understanding these editing programs and basic functions will help you in the long run.


