Project 2 - Line
|
Actual instructional video coming soon.
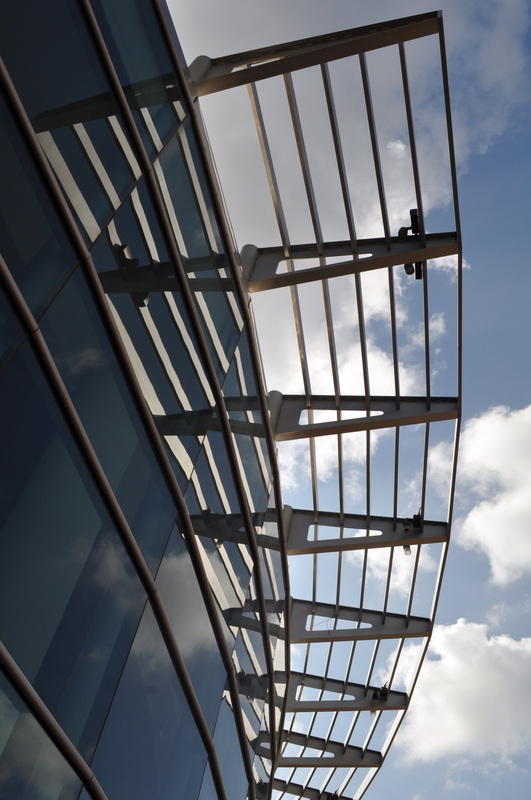
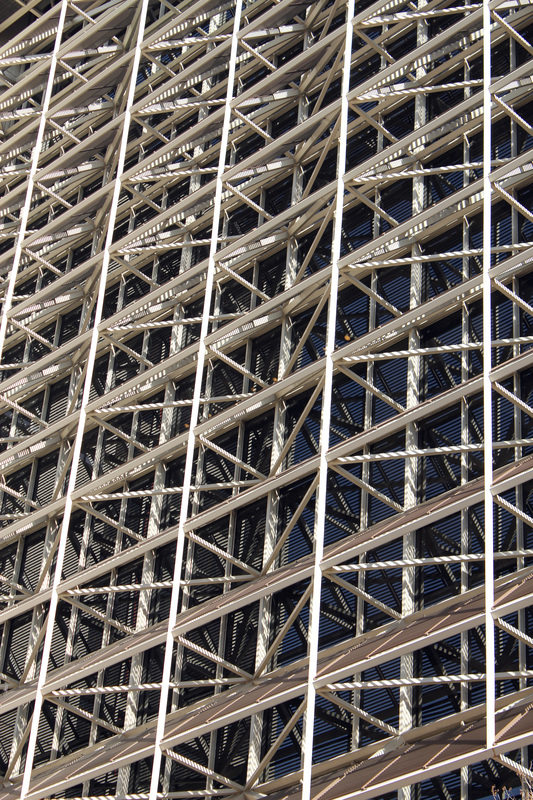
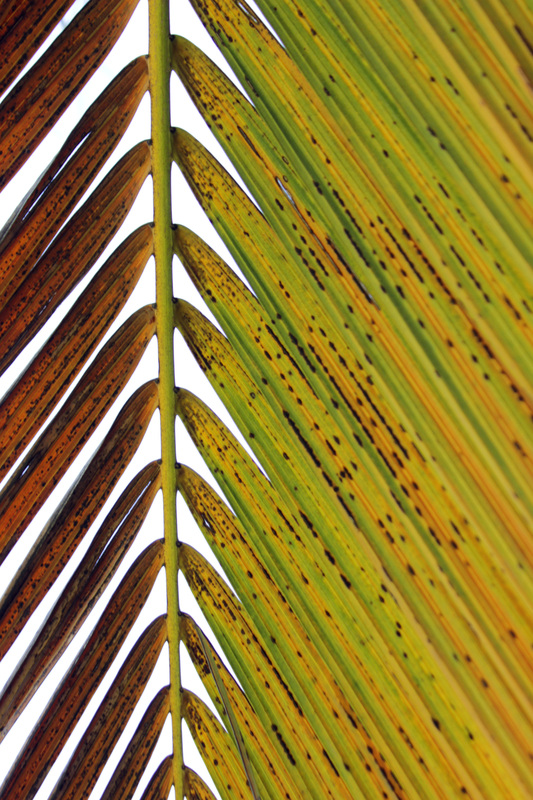
Focus on LineThis project will focus our attention on compositional aspects of line in nature as well as man made lines. We will look at examples that utilize line as the primary design element to make the piece successful. We will also look at series of lines, which create patterns as well as other qualities of line such as direction and structure. You may wish to use these other qualities to strengthen your composition. For example, you may want to use perspective so your pattern recedes into the distance, suggesting direction, or you may find a series of small patterns contained in a larger one, creating structure. You as the student will need to shoot 60 keeping the above in mind. You will need to submit your best eight images as well as four kaleidoscopes from four of the images for critique for a total of 12 files. For all projects, subject may not be people or animals unless otherwise stated.
|
What's Due?You will need to submit your best eight images as well as four kaleidoscopes from four of the images for critique for a total of 12 files. Please post your final images into a Gallery on your Portfolio page on your Weebly website under a new page called Line.
Camera SettingsLike the last project, we will be shooting on P. In this mode the camera sets both the shutter as well as the aperture for you. The only thing you need to do is set the sensitivity of the 'film.' This can be done by changing the iso. Think about it like this, iso 100 would be used for a nice sunny day, full of light, whereas, iso 800 would be used in darker situations. There is a down side to using higher iso settings in that your images will appear grainy so always try and move the value towards 100. For this class, iso 800 really should be your max value, although on rare occasion, 1600 may be necessary. Find the iso setting on your camera and set accordingly.
|
Line as the Primary Design Element
A series of lines create patterns. Line also can be used to allude to direction and when put together, create structure. Rhythm and pattern are important design elements resulting from many lines. As you shoot these images please keep this in mind and don't forget about the rule of thirds.
Using your best eight digital images, open each file in Photoshop or Pixlr and perform the following:
1. Always optimize your imagery for every project. To Optimize an image you must, Crop, Adjust Levels, and Remove Spots use the healing and clone stamps. Please watch the video on how to Optimize an image in the previous project. From here on out I will assume that you will always be Optimizing your images and need little to no further explation on how to do this unless you ask for help.
2. Pick four of you best images and also create four kaleidoscope images from those eight.
|
Actual instructional video coming soon.
|
Create a Kaleidoscope ImageThe reason your making a kaleidoscope is to understand basic layers in Photoshop as well as understand how to manipulate a layer by rotating it in various directions.
Using four optimized images, open each file in Photoshop and perform the following: Enhance all files. 1. Select/all, edit/copy, file/new, OK, edit/paste. 2. Under image/canvas size of the new document, double the width and height, select OK. 3. Edit/paste another image onto the canvas, push ctrl and t at the same time to rotate the picture while holding the shift key. Select the move tool in the control palette, and select apply when done. 4. Go back to the original and go to image/rotate canvas/flip horizontal. Select all/edit copy. 5. Edit paste onto the big document. Move this into place. Edit paste a duplicate onto the canvas; push ctrl and t at the same time to rotate the picture while holding the shift key. Select the move tool in the control palette, and select apply when done. 6. Selecting the appropriate layer, and using the arrow keys, please move each section into place. 7. When done, please crop the image. Kaleidoscope
|
Use the processes learned above with your best eight images. Don't forget to create your four kaleidoscope images. Again, the reason your making kaleidoscopes is to understand and practice with basic layers in Photoshop as well as understand how to manipulate a layer by rotating it in various directions. Understanding these editing programs and basic functions will help you in the long run.


