Project 1 - Composition
|
Overview of project video.
Focus on CompositionThis project will focus our attention on the compositional aspect of picture taking. Composition means the designed arrangement of objects within the frame of a photograph. Please remember that composition is made up using structure, balance, and dynamics. The basic structural elements are line, shape, and position of the object within the composition. Balance is an equal relationship of two or more things. Dynamics are about movement, specifically the movement of the viewer’s eye as it explores a photograph. The student will need to shoot 64 images keeping the above in mind. You will need to submit your best eight images as well as two new crops from each image for critique for a total of 24 files. For all projects, subject may not be people or animals unless otherwise stated.
|
What's Due?You will need to submit your best eight images as well as two new crops from each image for critique for a total of 24 files. Please post your final images into a Gallery on your Portfolio page on your Weebly website.
Camera SettingsImages are produced by your camera using shutter speed (how long light comes into the camera), aperture (how much light comes through the lens into the camera), and the sensitivity of the 'film.' When shooting for this project we will be shooting on the P or program mode of the camera. In this mode the camera sets both the shutter as well as the aperture for you. The only thing you need to do is set the sensitivity of the 'film.' This can be done by changing the iso. Think about it like this, iso 100 would be used for a nice sunny day, full of light, whereas, iso 800 would be used in darker situations. There is a down side to using higher iso settings in that your images will appear grainy so always try and move the value towards 100. For this class, iso 800 really should be your max value, although on rare occasion, 1600 may be necessary. Find the iso setting on your camera and set accordingly.
For future projects we'll learn about the (A) aperture priority mode, and the (S, or TV) shutter priority mode. If you will be using the ProCam app for iPhone, visit their page for instruction on how to use their app. You will be shooting on Auto Exposure for this project. Under Photo in the menu, please set your dimensions to shoot at 3:2. You may also use the Camera App on your Smart Phone as well. |
Rule of Thirds
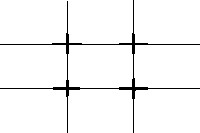
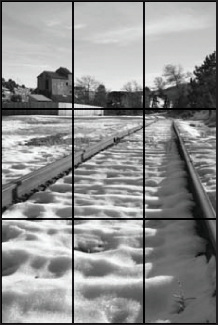
One of the most popular 'rules' in photography is the Rule of Thirds. It's also popular with artists, designers and cameramen. It works like this: Imaginary lines are drawn dividing the image into thirds both horizontally and vertically. Place important elements of your composition where these lines intersect or in specific columns or rows. As you shoot these images please keep this in mind.
Using the Rule of Thirds helps produce nicely balanced pictures. Once you have got the hang of the Rule of Thirds you will very quickly want to break it! This is fine but not for this project. In later projects you can create a better image by bending or ignoring rules.
Photoshop or Pixlr
Using your best eight digital images, open each file in Photoshop or Pixlr and perform the following:
1. Optimize imagery. To Optimize an image you must, Crop, Adjust Levels, and Remove Spots use the healing and clone stamps. Please watch the video on how to Optimize an image below.
2. Crop each image into two new compositions using the crop tool. Always crop in a 2 x 3 format. Select the crop tool, click and drag the area you wish to keep and double click to resize. Save the new crop as a new file name, otherwise you will overwrite your original image.
How to Use Photoshop, Pixlr, and Optimize a Photo Adjust Levels, Remove Spots (Clone Stamp, Healing Brush) and Crop. Please use the source files below.
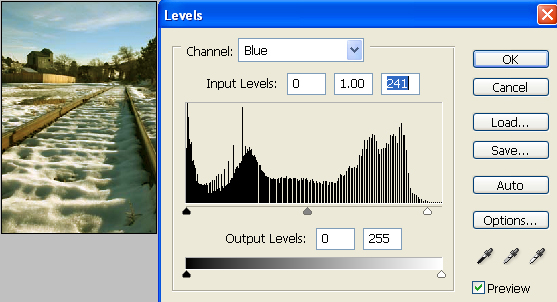
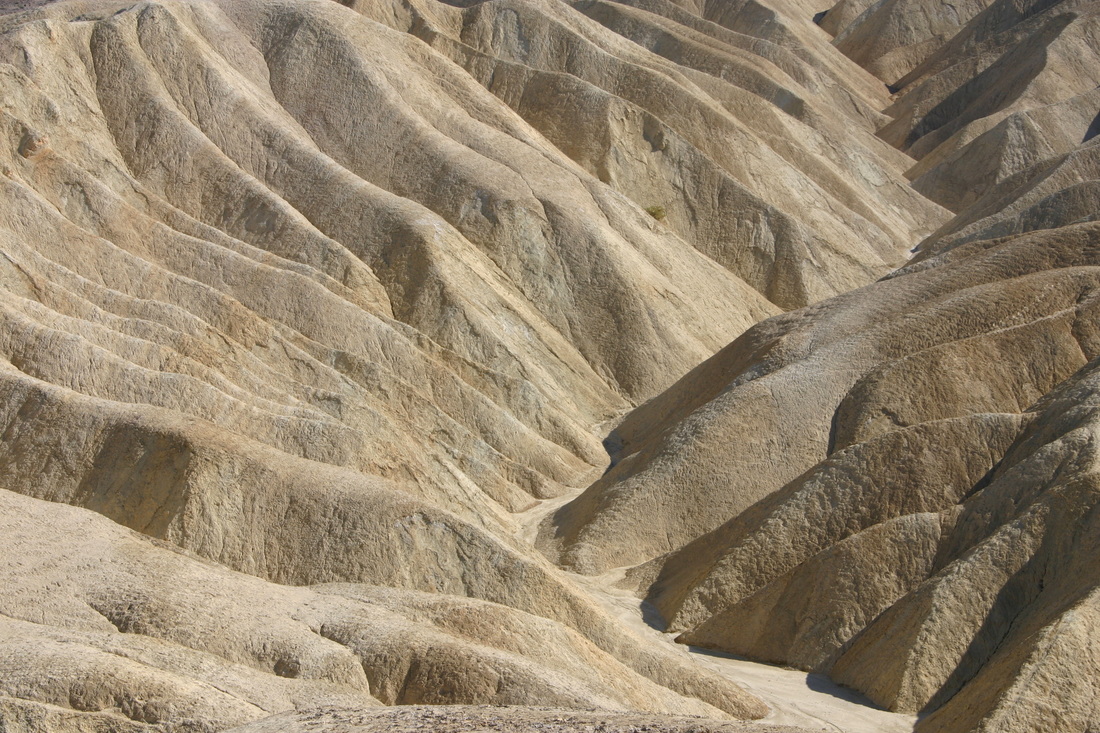
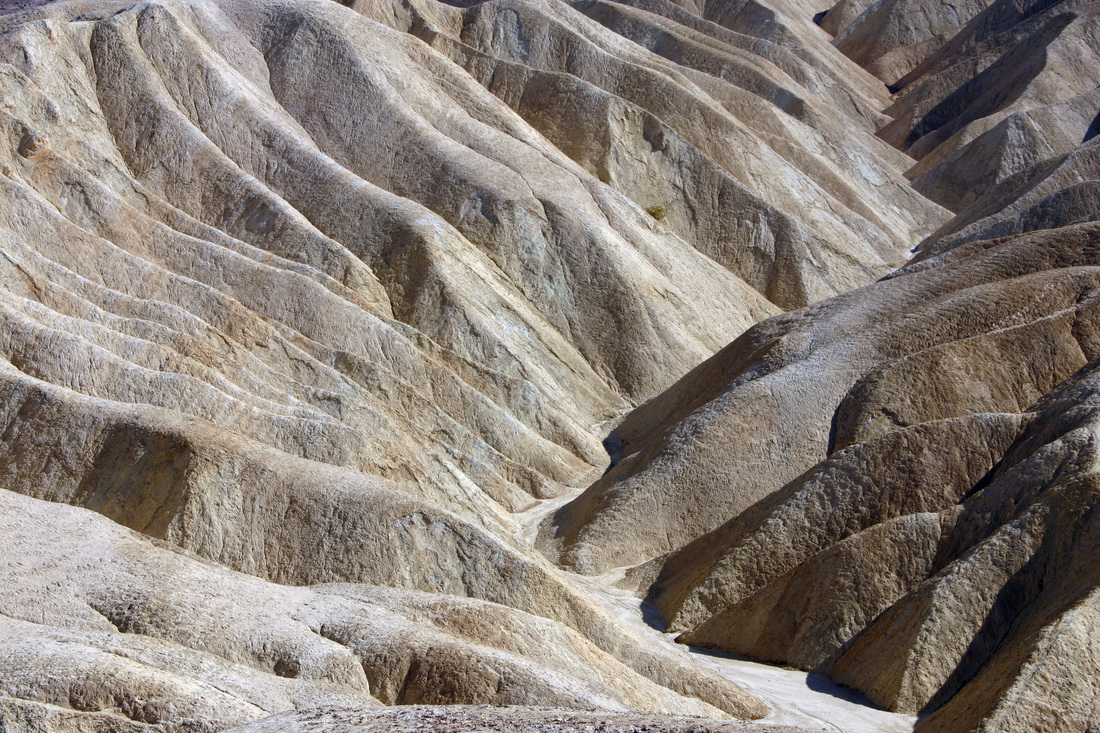
Any time you bring an image into Photoshop you want to start by adjusting levels. Go to Image/Adjustments/Levels. Select the drop down button and adjust each color level separately (Red, Green, and Blue). Slide the right and left arrows to where the curve starts. Our goal is to remove the flat lined portions. Please do this with the death_valley.jpg file below.
You'll notice in the original shot the colors are muddy and flat. After we adjusted the Levels, there is more contrast and the image has better color and looks more like the scene I shot.
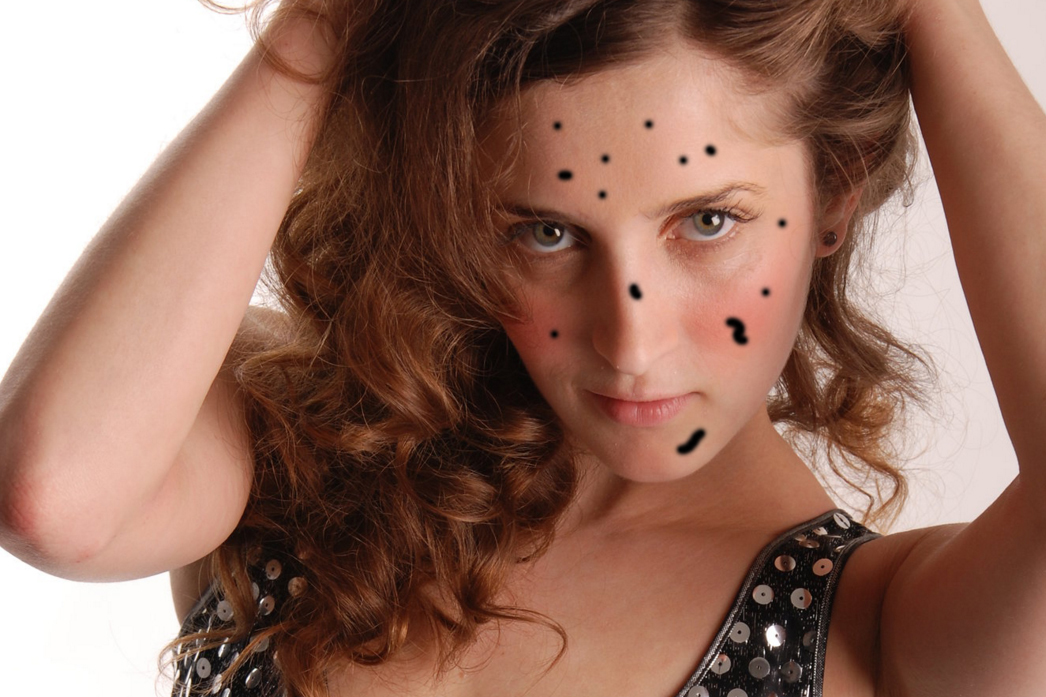
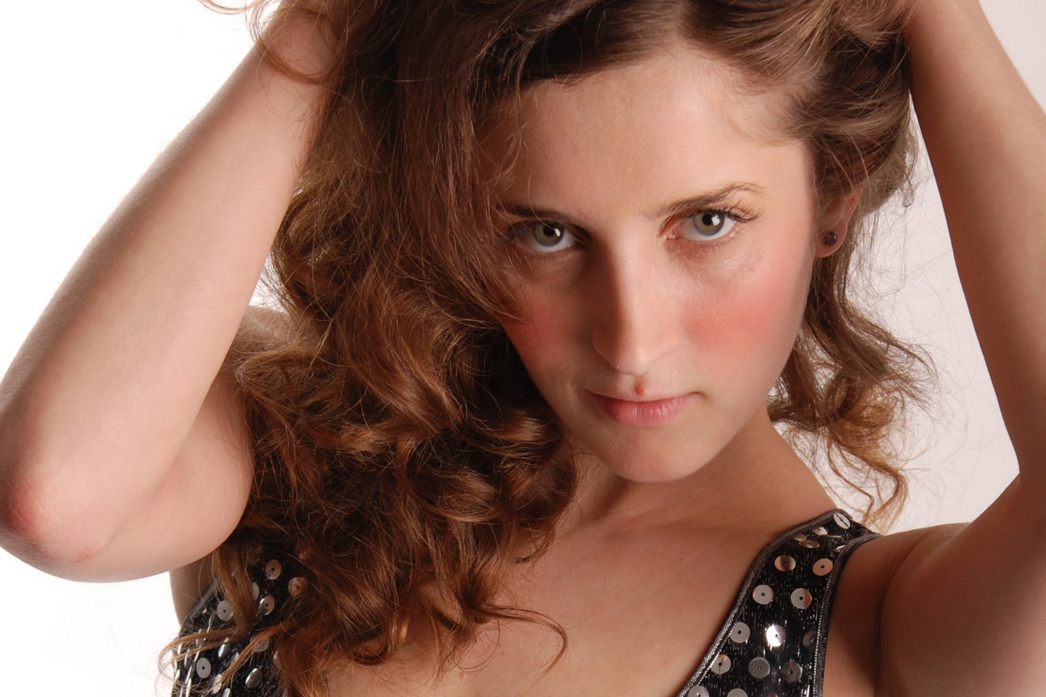
Next we need to clean up the image, scratches and or blemishes so select the Healing Brush in the tool palette. Select a brush size that is similar to the size of the area you wish to heal. While holding Alt, click on the area you wish to sample to select good skin. Then go to the area you wish to fix and click. You may also use the Clone Stamp for this purpose however the Healing Brush smooths out the adjustment while the Clone Stamp copies the area exactly. Please use the image headshot2.jpg to do this.
To crop an image, select the Crop tool in the tool palette. Be sure to always crop at a 2 x 3 dimension. Click and drag out a box now to select the area you wish to keep. Double click inside the selection to apply.
| |||||||||||||||||
Use the processes learned above with your best eight images. Don't forget to crop each image two different ways and rename the files with a new file name as not to overwrite your original image. The reason your cropping each image two different ways is so that you begin to see better, more abstract compositions in your images. This will also help clean up your shots as only to focus on what's important.

